Automating Vendor Remittance in D365
- mostphil11
- Jun 17, 2022
- 2 min read
This process only functions if a vendor payment journal has been created by a Payment Proposal or Settle Transactions.
The purpose of this function is to outline a configuration-only solution that provides a client with an automatic or batch remittance email without using power apps. The following process will enable automatic printing/emailing of payment advice for Vendor Check/ACH Payments to Outlook Email.
In the Feature management workspace, validate that the “Enable batch processing for bank payment advice reports” is turned on.

This feature allows access to “BankPaymAdviceVendV2” and “BankPaymAdviceCustV2”, exportable forms that can be linked via Print management.
Once this feature is enabled, navigate to Accounts Payable > Setup > Forms > Form setup > General > Print management
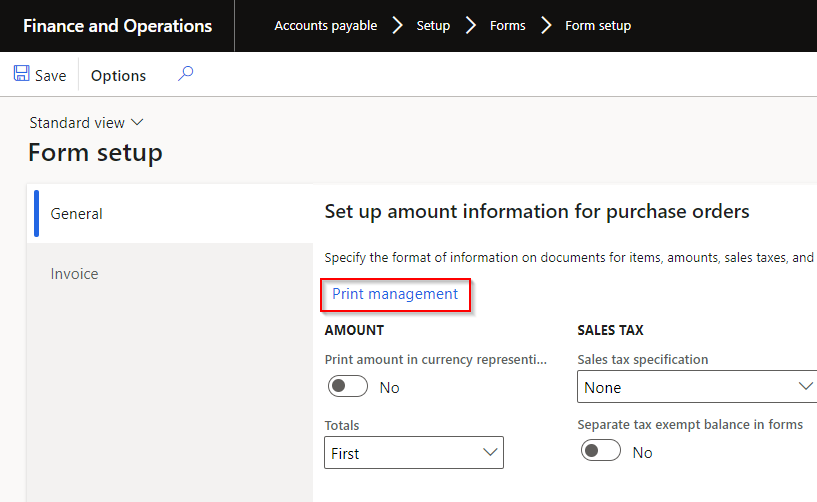
Right-click on “Payment advice” and select “New”

Change the name to something identifiable or “Client Name”
Click the play button to the right of the “Destination” line.

Select “Printer setup”, this will bring up print destination settings for this report.

Navigate to Organization administration > Global address book > Address and contact information purpose
Validate that the “Payment” purpose has the Contact information box checked, if not, edit and select it.

Navigate to System administration > Setup > Email > Email parameters
Make sure the Batch email provider in the Configuration tab is “SMTP”

In the STMP settings tab, enter the outgoing mail server, and STMP port number, and turn on the SSL/TLS required toggle.

Not all servers are the same, to auto-populate the outgoing mail server field, change the Batch email provider to Exchange, then back to STMP. This should trigger a popup asking if Outlook is the correct server, choose yes.
Back to the SMTP settings tab, turn on the Authentication required toggle, and enter the username and password for the email account that is connected. To check which email the reports will be sent from and thus the email that the log-in credentials should be entered here.
To test the connection/credentials/server, navigate to the Test Email tab and enter an email to receive a test email. Completing this process will validate that the email parameters setup is functioning as desired.

Now navigate to a Vendor and add a contact email with the purpose code of “Payment”


Make sure the address is up to date, the payment advice report will pull it onto the report. Once this setup is complete, the vendor remittance will be automatically sent out if the “Payment advice” and “Use print management” toggles are turned on in the final steps of generating payments.

That's all folks! Feel free to reach out with any questions.


Comments